 Inbox
InboxIntegration Docs
How to use InboxValid from the tools your contacts already live in. Every guide is step by step with screenshots of the app, says plainly which connectors are not available yet, and gives the route that works today. The overview of every option is on the integrations page.

HubSpot
Verify HubSpot contacts
What the HubSpot connector does, where it stands today, and the CSV route that gets a HubSpot list verified right now.
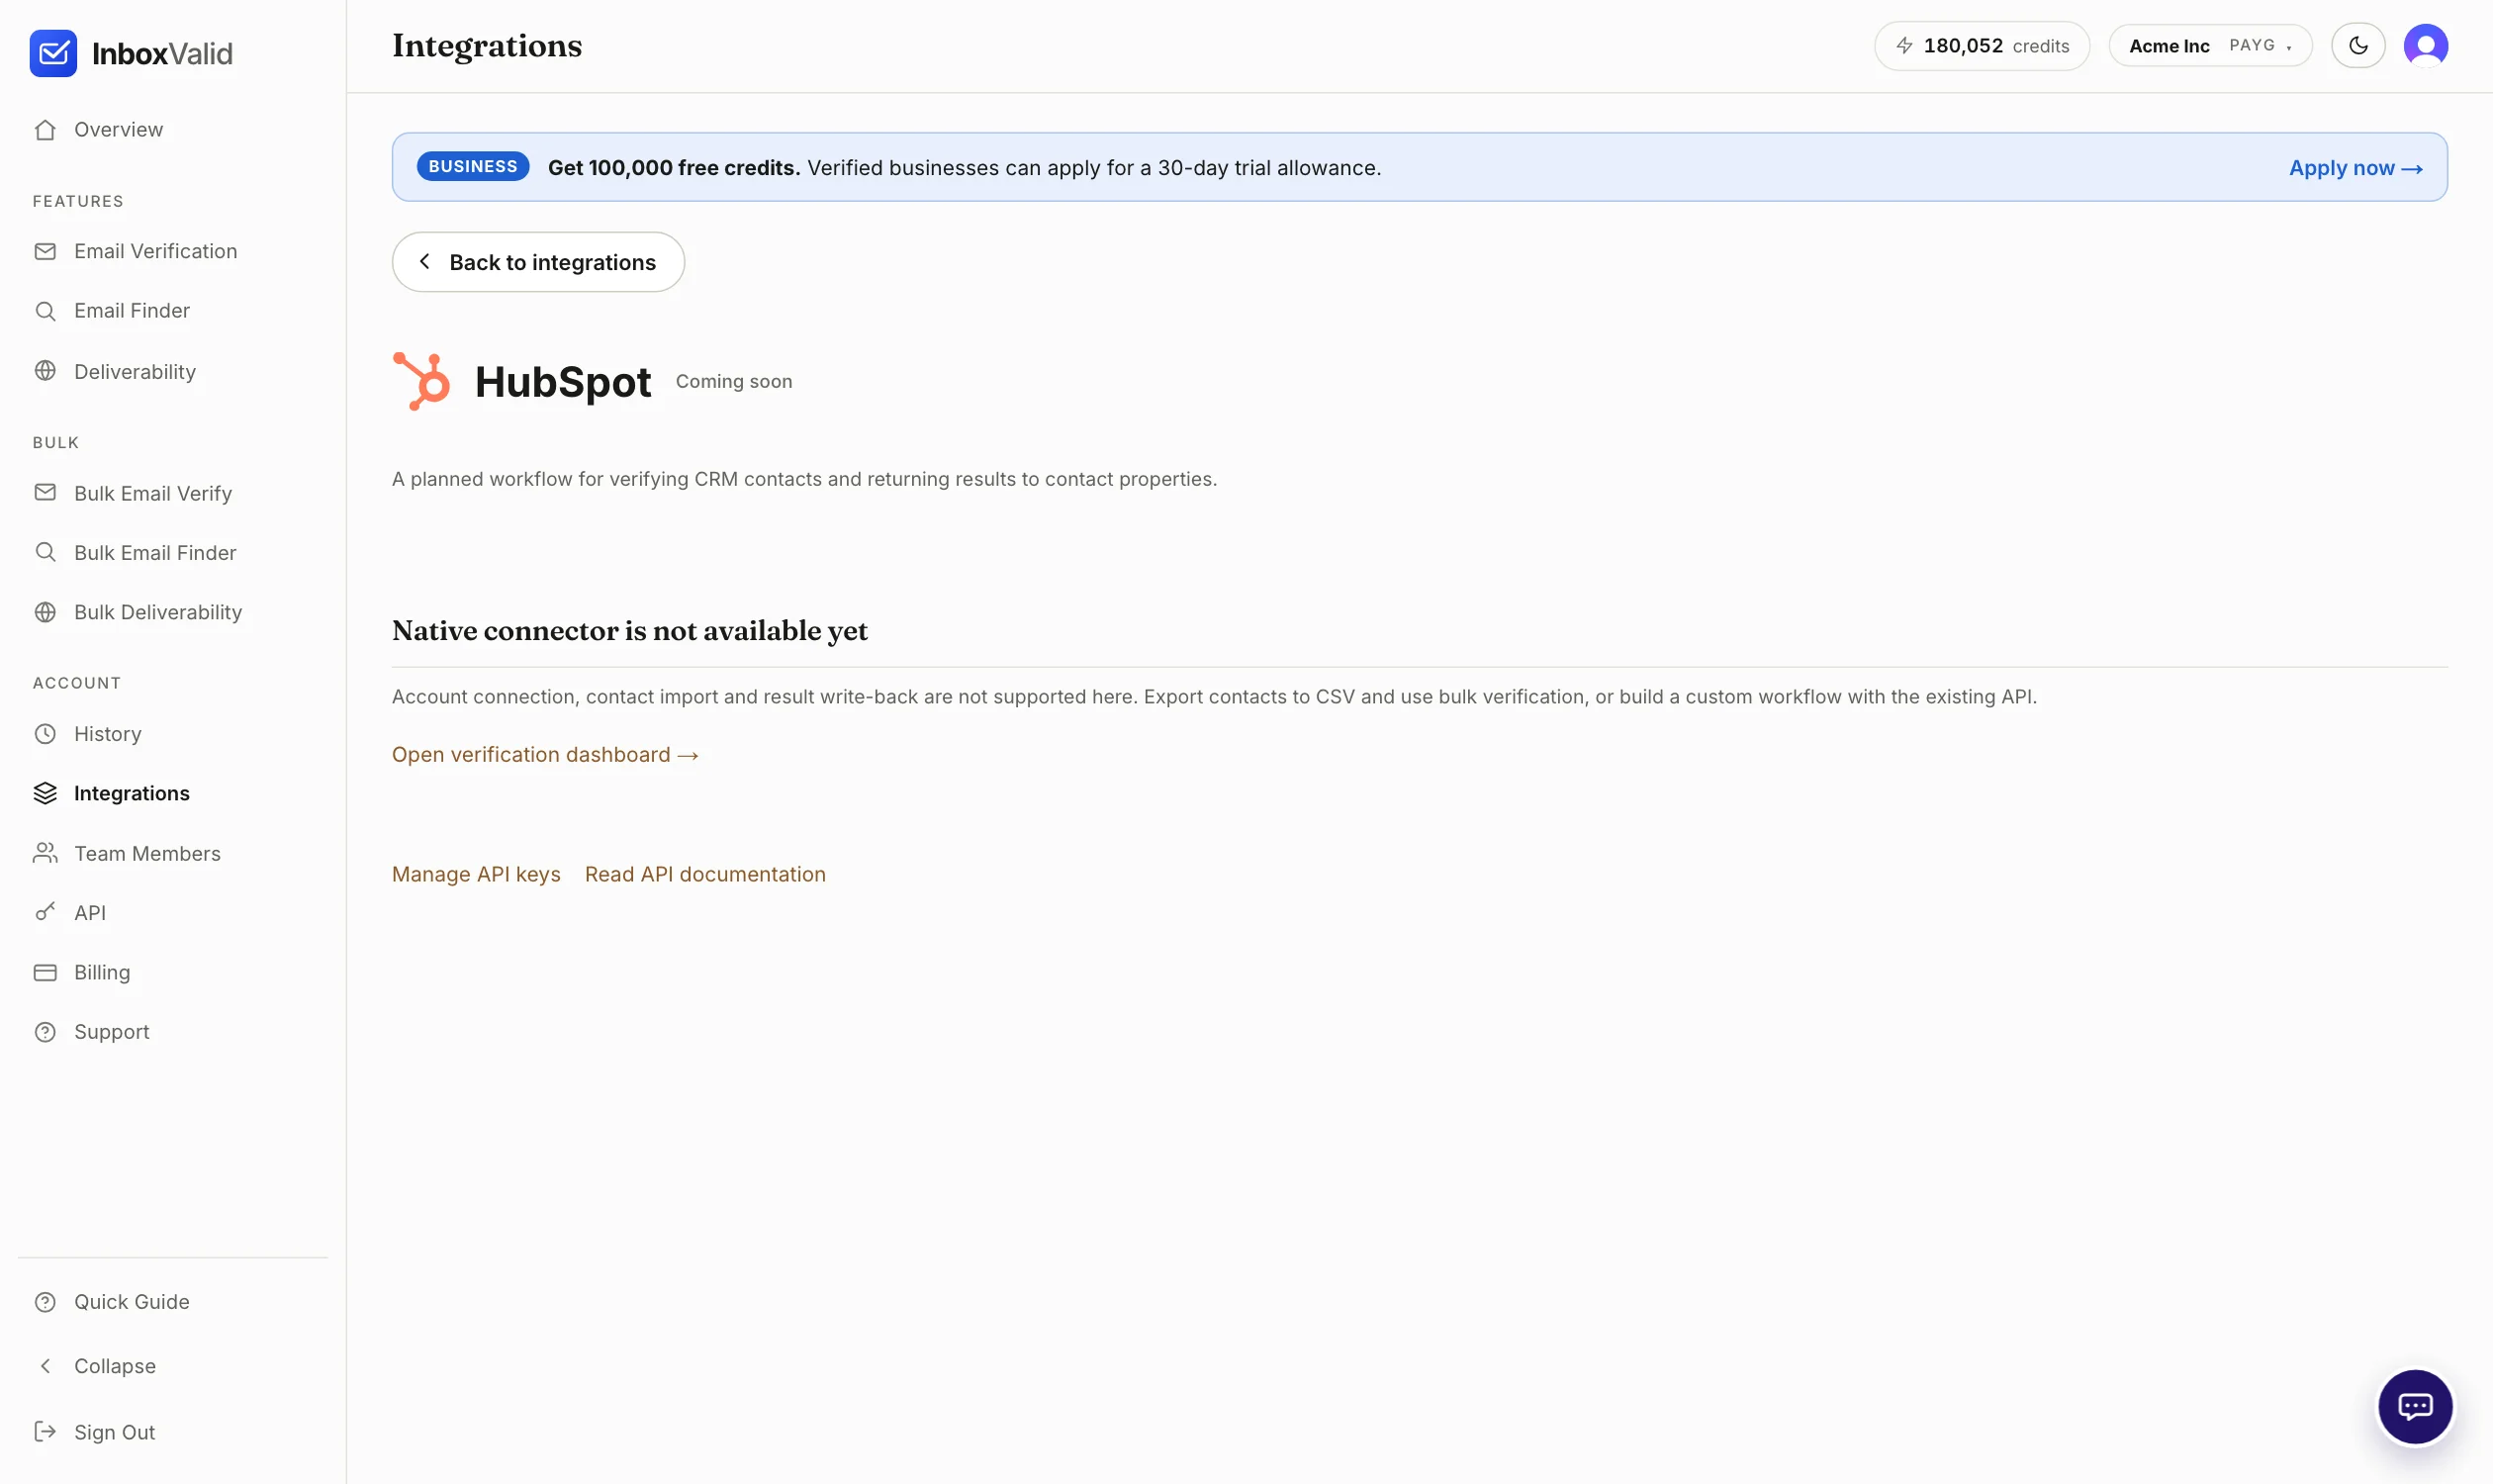
The HubSpot connector verifies a HubSpot contact list and writes each verdict back to the contact's properties, so a workflow or a filtered view in HubSpot can act on it. It is listed on the integrations page and has its own page in the dashboard, but the native connection is not available yet. This guide covers what it will do and how to get a HubSpot list verified today.
How the connector works
- Connect HubSpot with OAuth. From Dashboard → Integrations → HubSpot you authorise InboxValid against your HubSpot portal. Only contact read and property write scopes are requested.
- Choose a contact list and review the scope. Pick a static or active list. Before anything runs you see the number of unique addresses and the credits that will be held, the same confirmation a bulk upload gets.
- Run verification and write the results back. The run appears under Validation history on the HubSpot page with live progress, and can be paused or stopped like any bulk job. When it settles, each contact gets its status, trust score and the check time as properties.
What works today
Until the connection ships, the route is an export and a bulk job. It takes a few minutes and the result is the same list of verdicts.
- Export the contacts from HubSpot (Contacts → Export) as a CSV that includes the email column.
- Open Dashboard → Bulk Email Verify, switch to Upload File and choose the CSV. Pasting the addresses works too.
- Press Verify List. Credits are held up front, one per unique address, and whatever is not used comes back when the job settles.
- Watch the job in Your Bulk Jobs. When it completes, open View details and export the results, filtered to the statuses you want to keep.
- Import the exported CSV back into HubSpot (Contacts → Export), matching on the email column, to update the records.
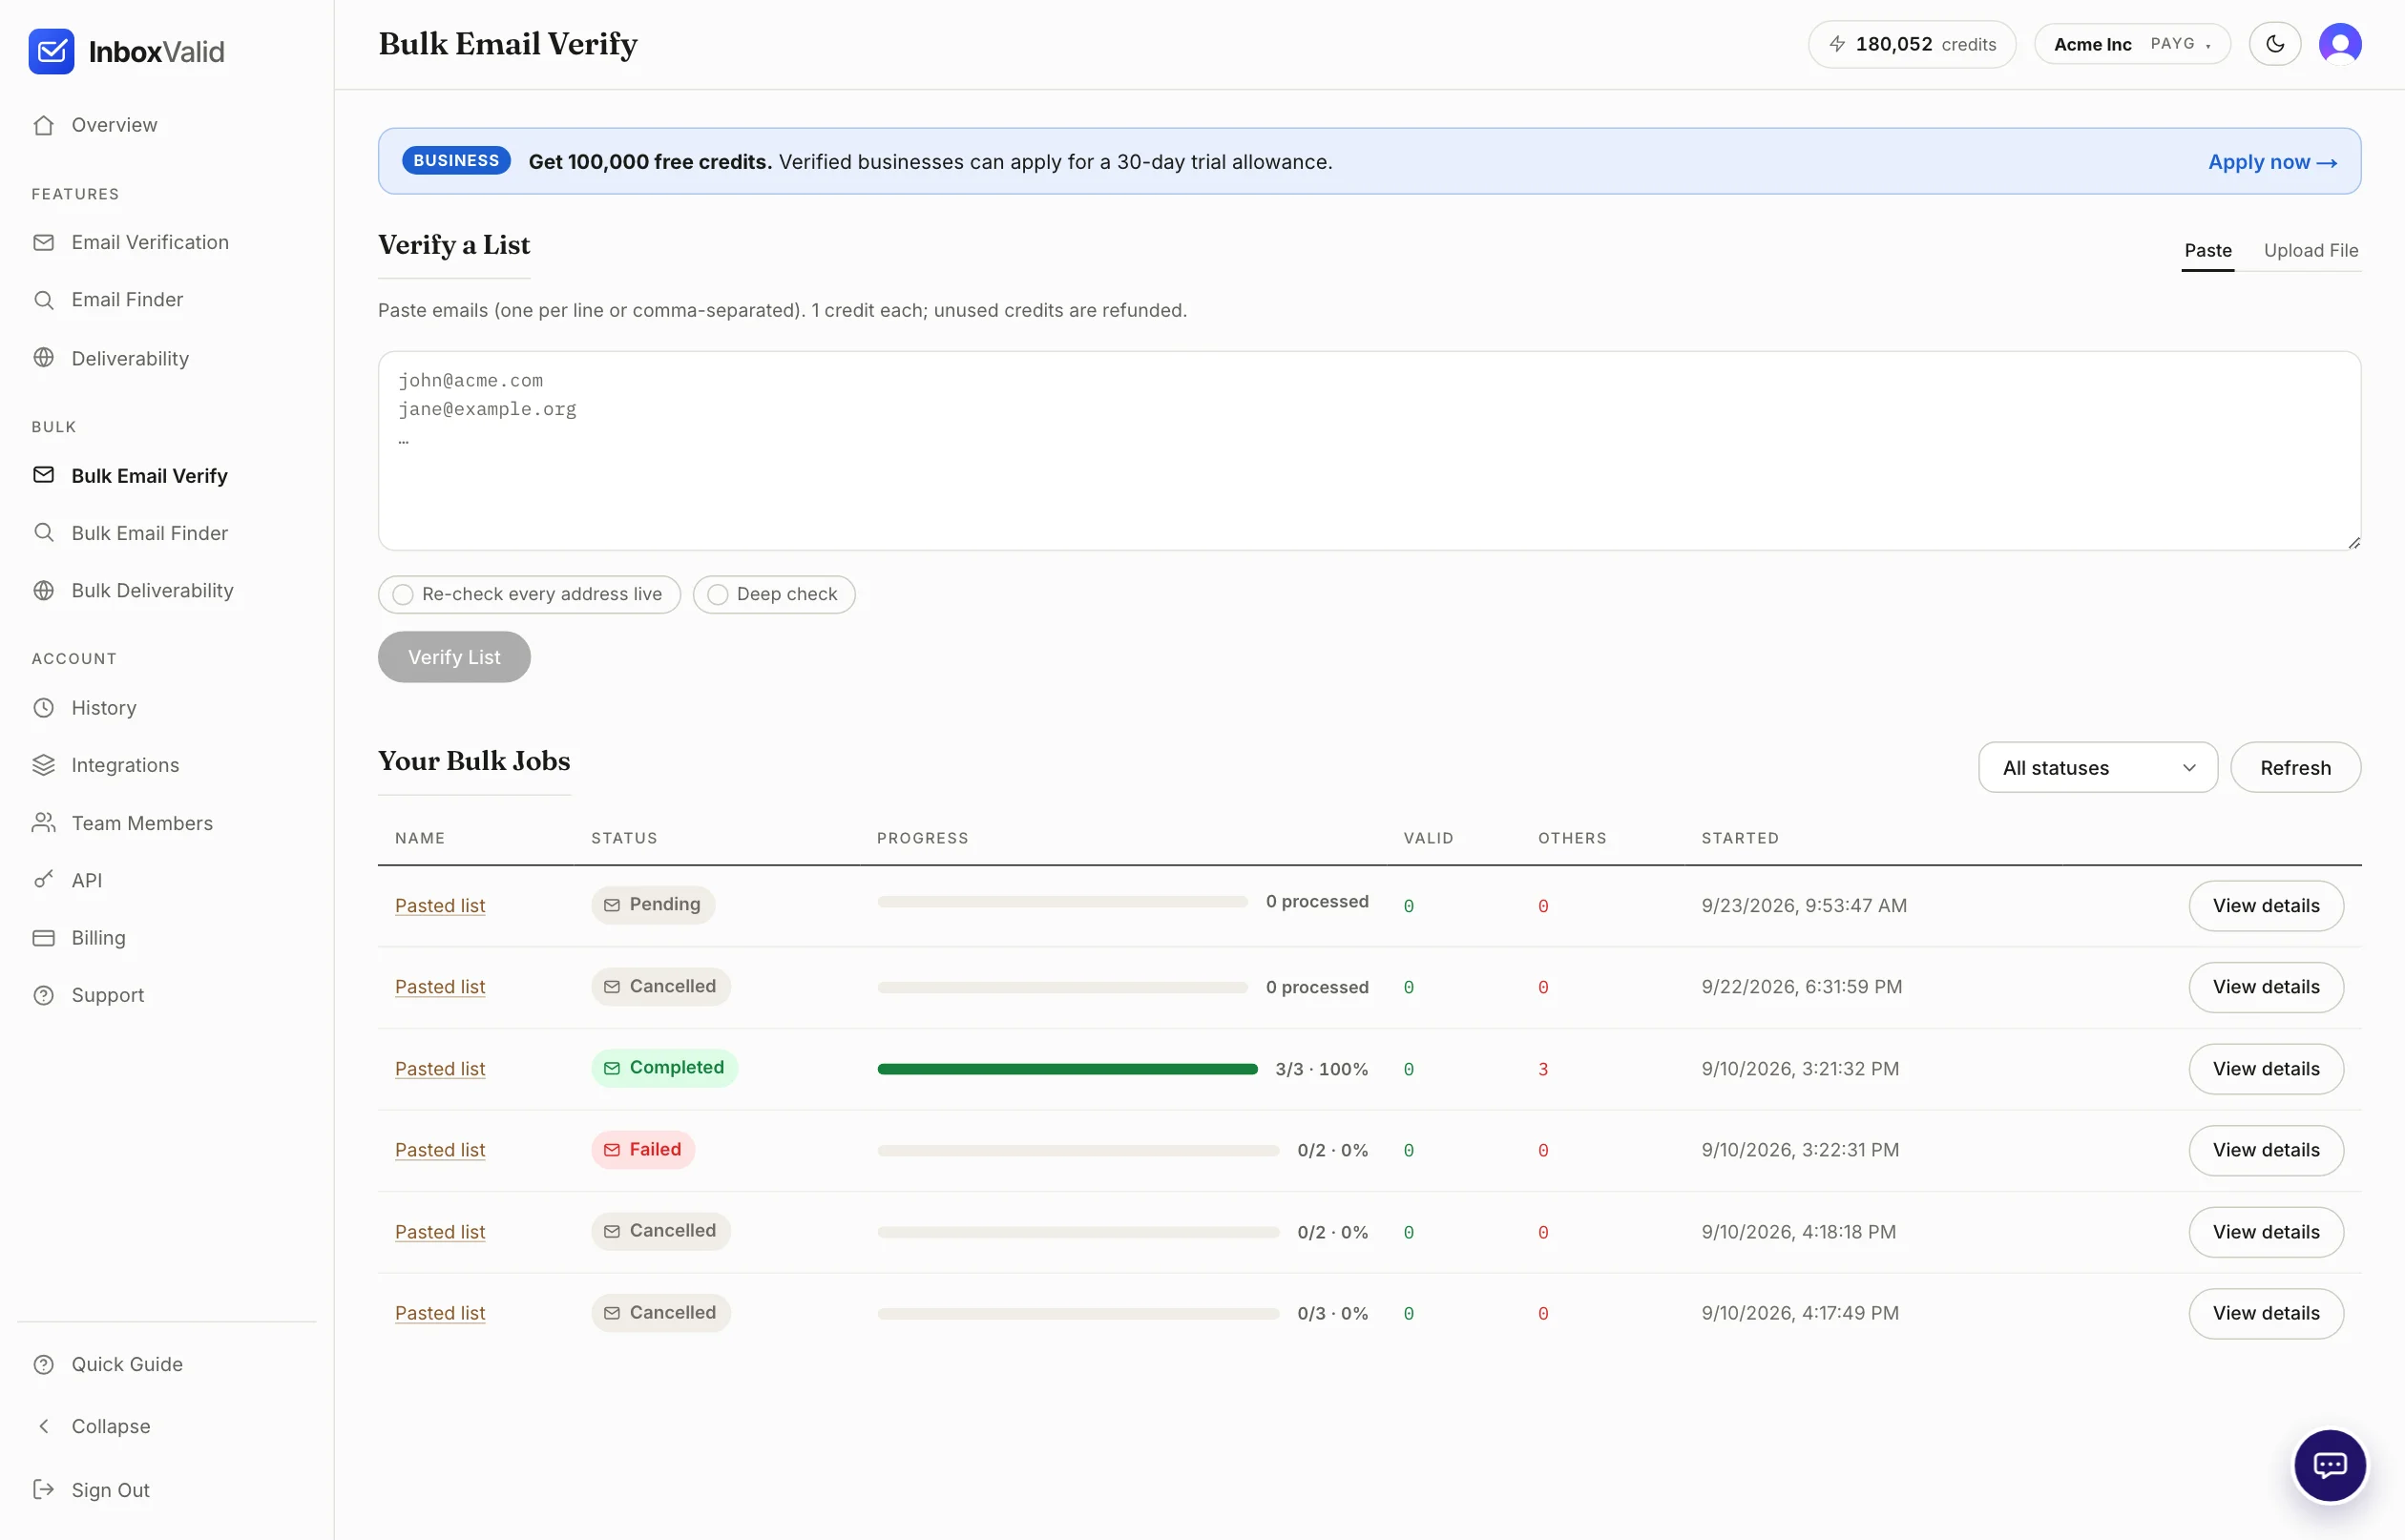
The full lifecycle of a bulk job, including pausing and what gets refunded, is in how bulk jobs run.
Prefer automation? A HubSpot workflow can call the verification API through a custom code action or a webhook; the request is the one in the Zapier guide, and the response fields are identical.

Google Sheets & Docs
Verify a Google Sheet and summarise it in Docs
The Google Workspace connector for Sheets and Docs, step by step, plus the export route that works before it ships.
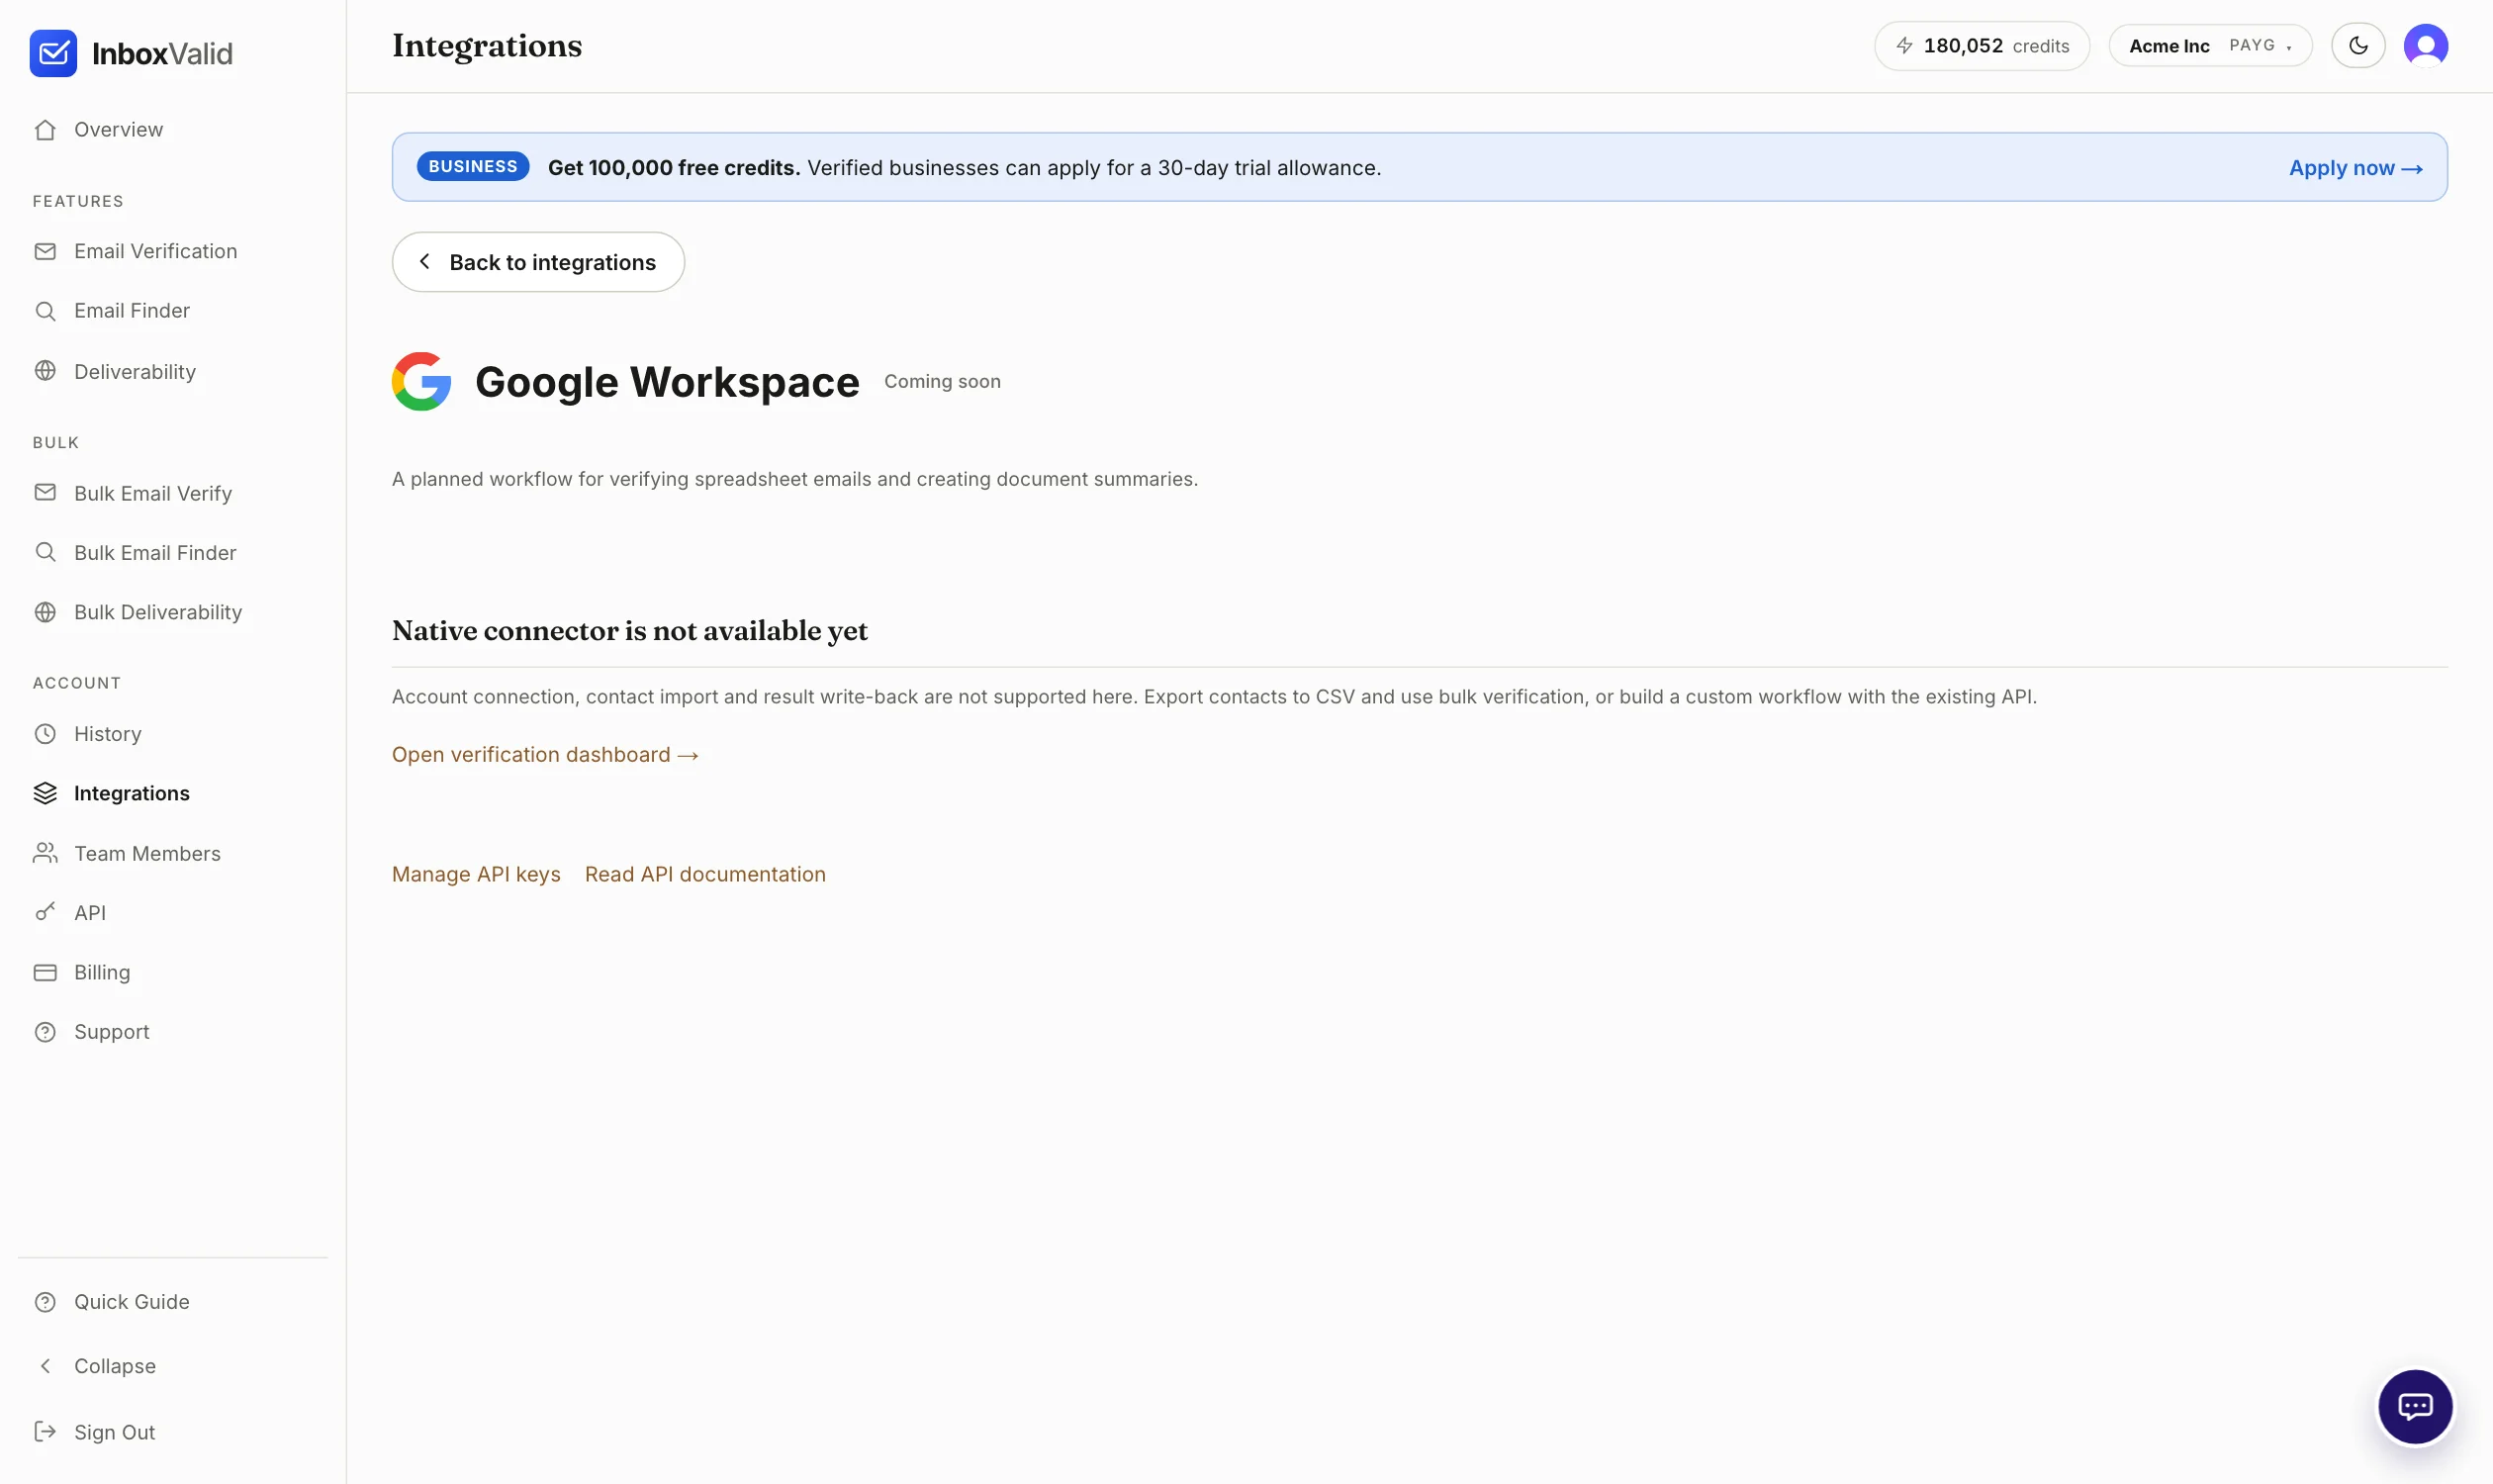
The Google Workspace connector does two things: it validates the email addresses in a range of a Google Sheet, and it can write a Google Docs summary of that run. Both sit behind one Google Workspace connection. The connector is listed and has a dashboard page, but the native connection is not available yet; the export route below works now.
Google Sheets: how the workflow runs
- Connect Google Workspace with OAuth. From Dashboard → Integrations → Google Workspace, authorise access to Sheets and Docs. Nothing is read until you choose a file.
- Choose a Sheet, a range and the email column. You point at one sheet and one range, and say which column holds the address. Rows outside the range are never read.
- Validate the rows and review the results. The run is a bulk job: credits are held for the unique addresses, progress is live, and it can be paused. When it settles, a status column and a trust score column are written next to the range.
Google Docs: the summary
- Validate a Google Sheets range as above.
- On the finished run, choose Create Docs summary.
- A new Google Doc is created in your Drive with the run's totals by status, the share of catch-all and risky addresses, and a link back to the sheet. It is a plain document you can edit and share.
What works today
- Export the contacts from Google Sheets (File → Download → CSV) as a CSV that includes the email column.
- Open Dashboard → Bulk Email Verify, switch to Upload File and choose the CSV. Pasting the addresses works too.
- Press Verify List. Credits are held up front, one per unique address, and whatever is not used comes back when the job settles.
- Watch the job in Your Bulk Jobs. When it completes, open View details and export the results, filtered to the statuses you want to keep.
- Import the exported CSV back into Google Sheets (File → Download → CSV), matching on the email column, to update the records.
The full lifecycle of a bulk job, including pausing and what gets refunded, is in how bulk jobs run.
The results export opens straight back in Sheets. For a summary document, the job's details page shows the same totals by status that the Docs summary will contain.

Apollo
Verify saved Apollo contacts
What the scoped Apollo connection will do, and how to verify an Apollo export today.
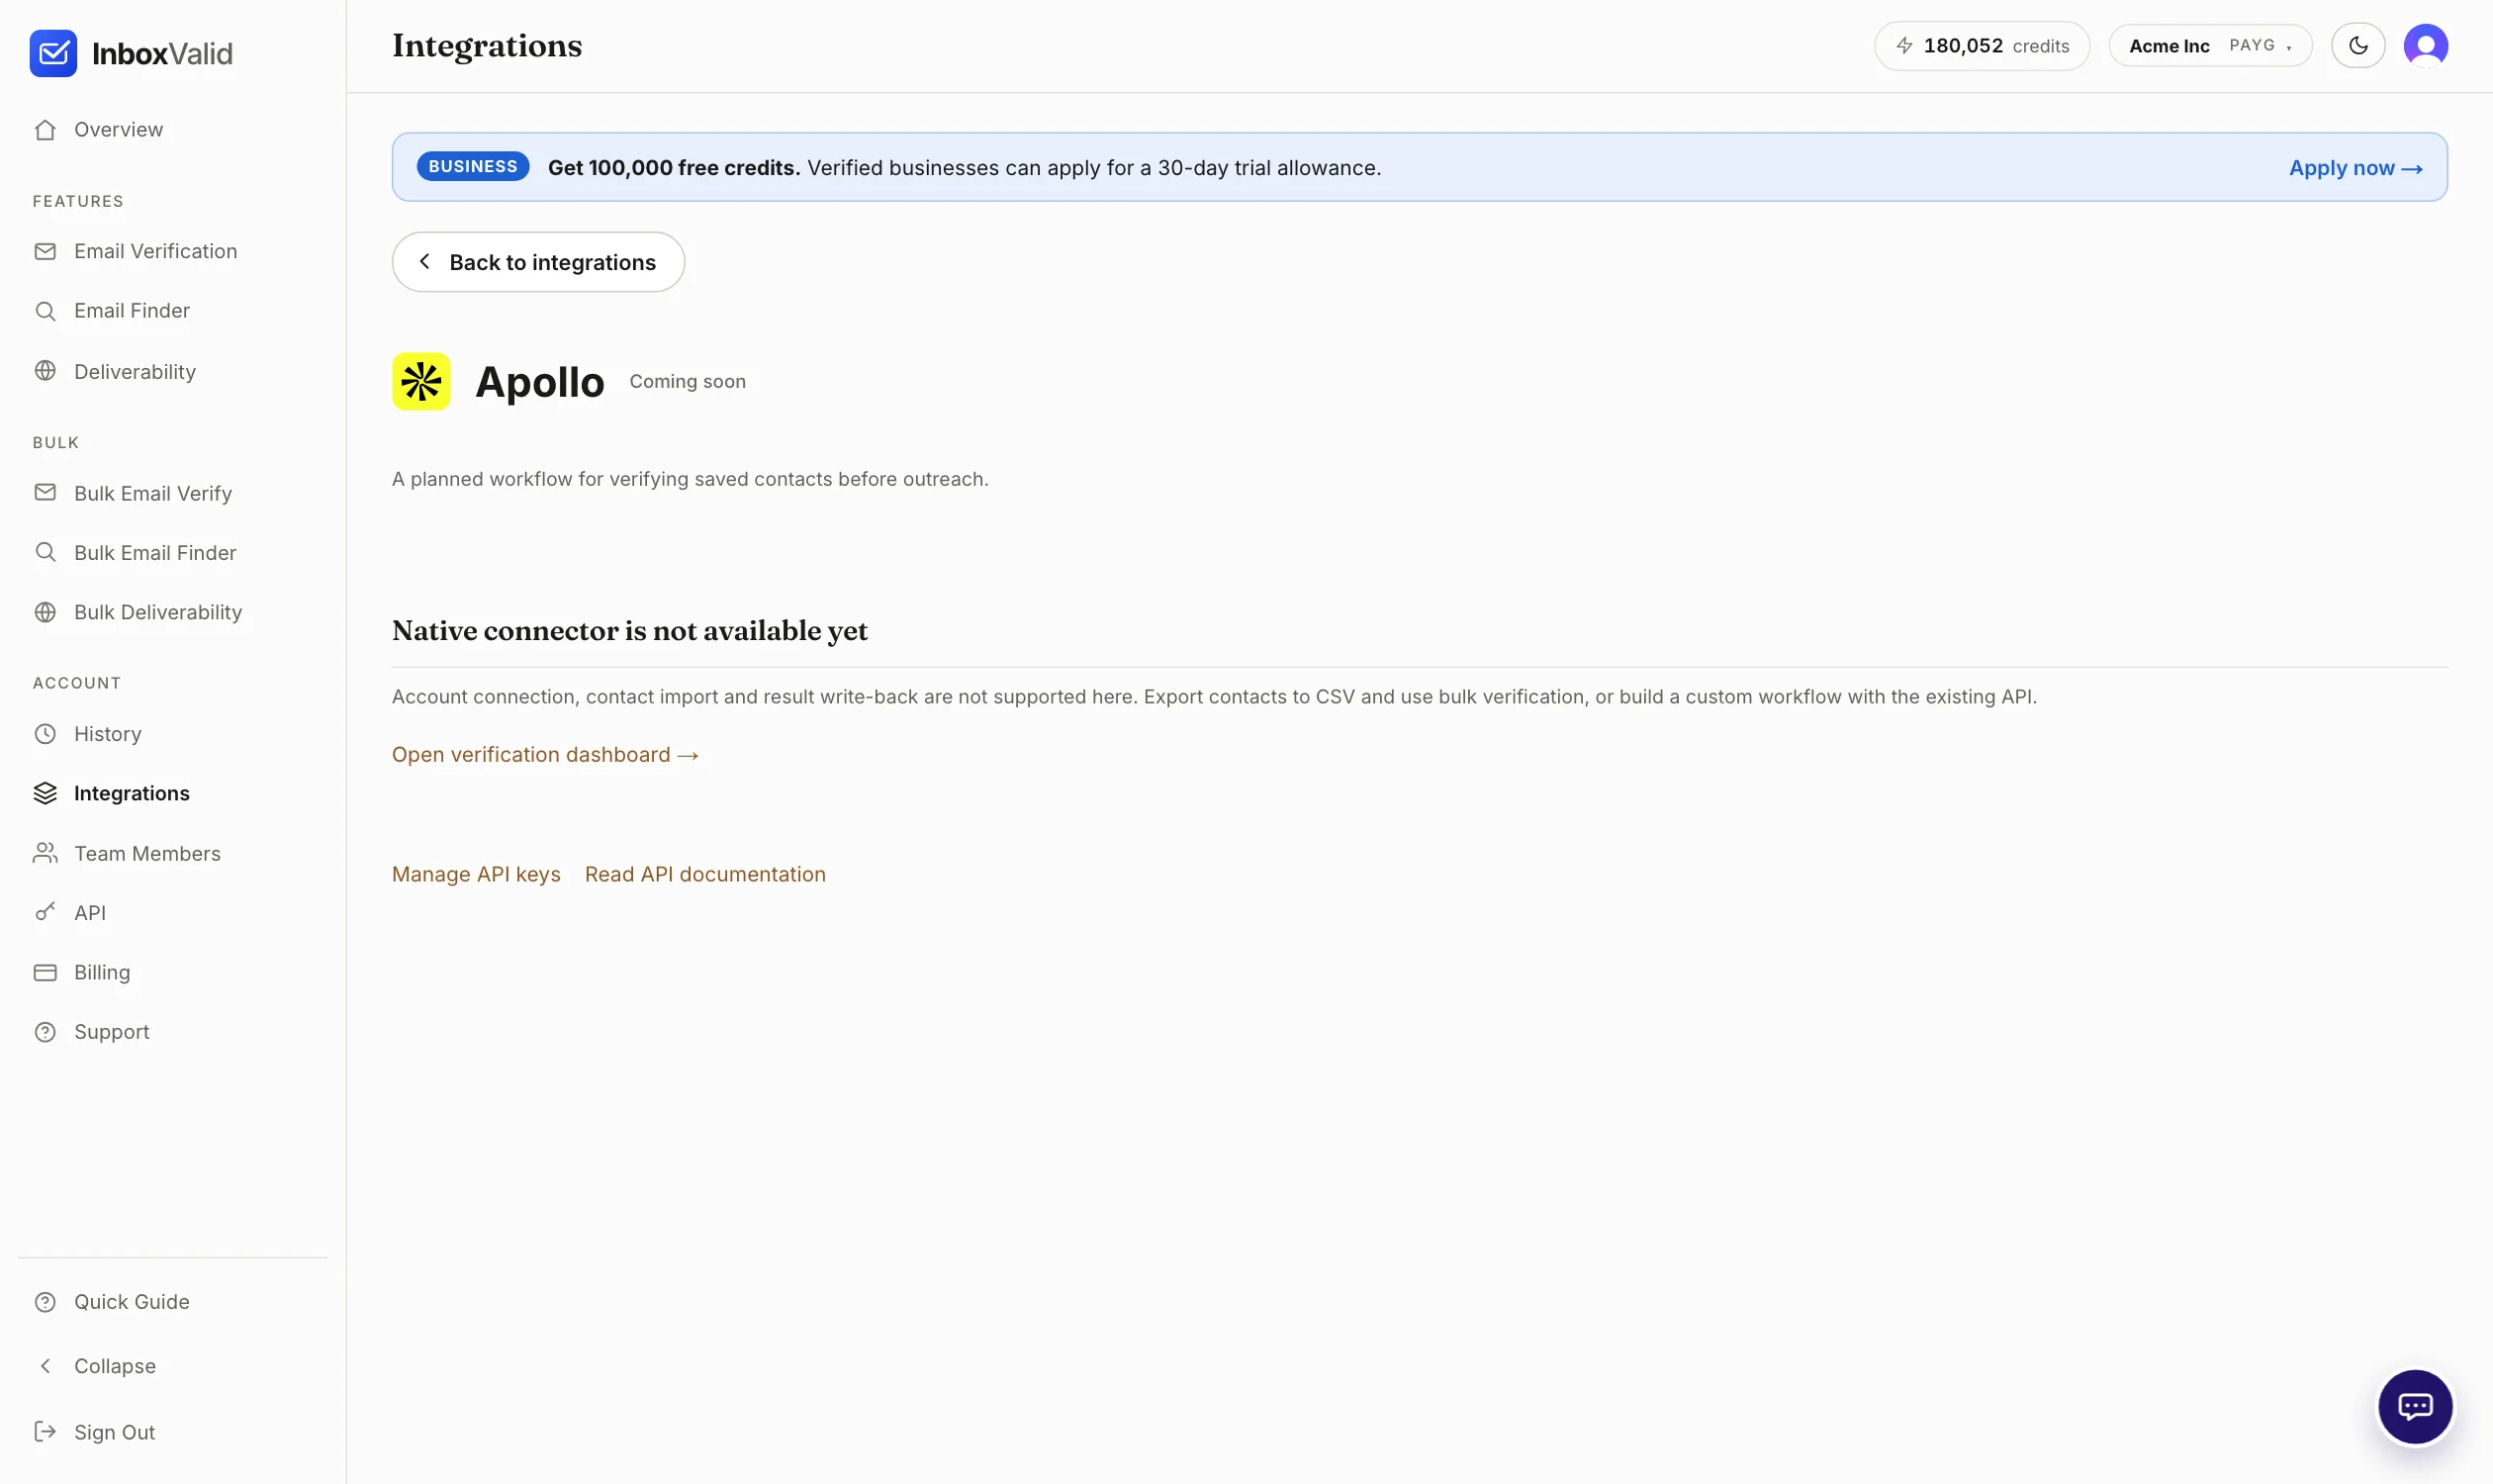
The Apollo connector verifies contacts you have saved in Apollo before they go into a sequence, using a scoped connection to your Apollo workspace. It is on the integrations page and in the dashboard, but the native connection is not available yet.
How the connector works
- Connect a scoped Apollo workspace. From Dashboard → Integrations → Apollo you supply a workspace API key or approve an OAuth connection. The scope is read-only on contacts; nothing is written back without a separate confirmation.
- Check the connection and choose contacts. The page confirms the workspace it can see, then you pick a saved list or a search.
- Review results before any write-back. The run is a bulk job with live progress. When it settles you review the verdicts and decide what, if anything, goes back to Apollo.
What works today
- Export the contacts from Apollo (Lists → Export) as a CSV that includes the email column.
- Open Dashboard → Bulk Email Verify, switch to Upload File and choose the CSV. Pasting the addresses works too.
- Press Verify List. Credits are held up front, one per unique address, and whatever is not used comes back when the job settles.
- Watch the job in Your Bulk Jobs. When it completes, open View details and export the results, filtered to the statuses you want to keep.
- Import the exported CSV back into Apollo (Lists → Export), matching on the email column, to update the records.
The full lifecycle of a bulk job, including pausing and what gets refunded, is in how bulk jobs run.

Zapier
Verify emails from a Zap
Set up Webhooks by Zapier to call the verification API and route each contact on its status.
There is no InboxValid app in the Zapier directory yet. You do not need one: the Webhooks by Zapier action calls the verification API directly, and the Zap then routes each contact on the status that comes back. Webhooks by Zapier is a premium action, so your Zapier plan has to include it.
Step 1: create an API key
Open Dashboard → API, give the key a name that says where it lives (for example zapier) and press Create Key. The full key is shown once; copy it into your tool before closing the dialog. A key per tool means you can revoke one without breaking the others.
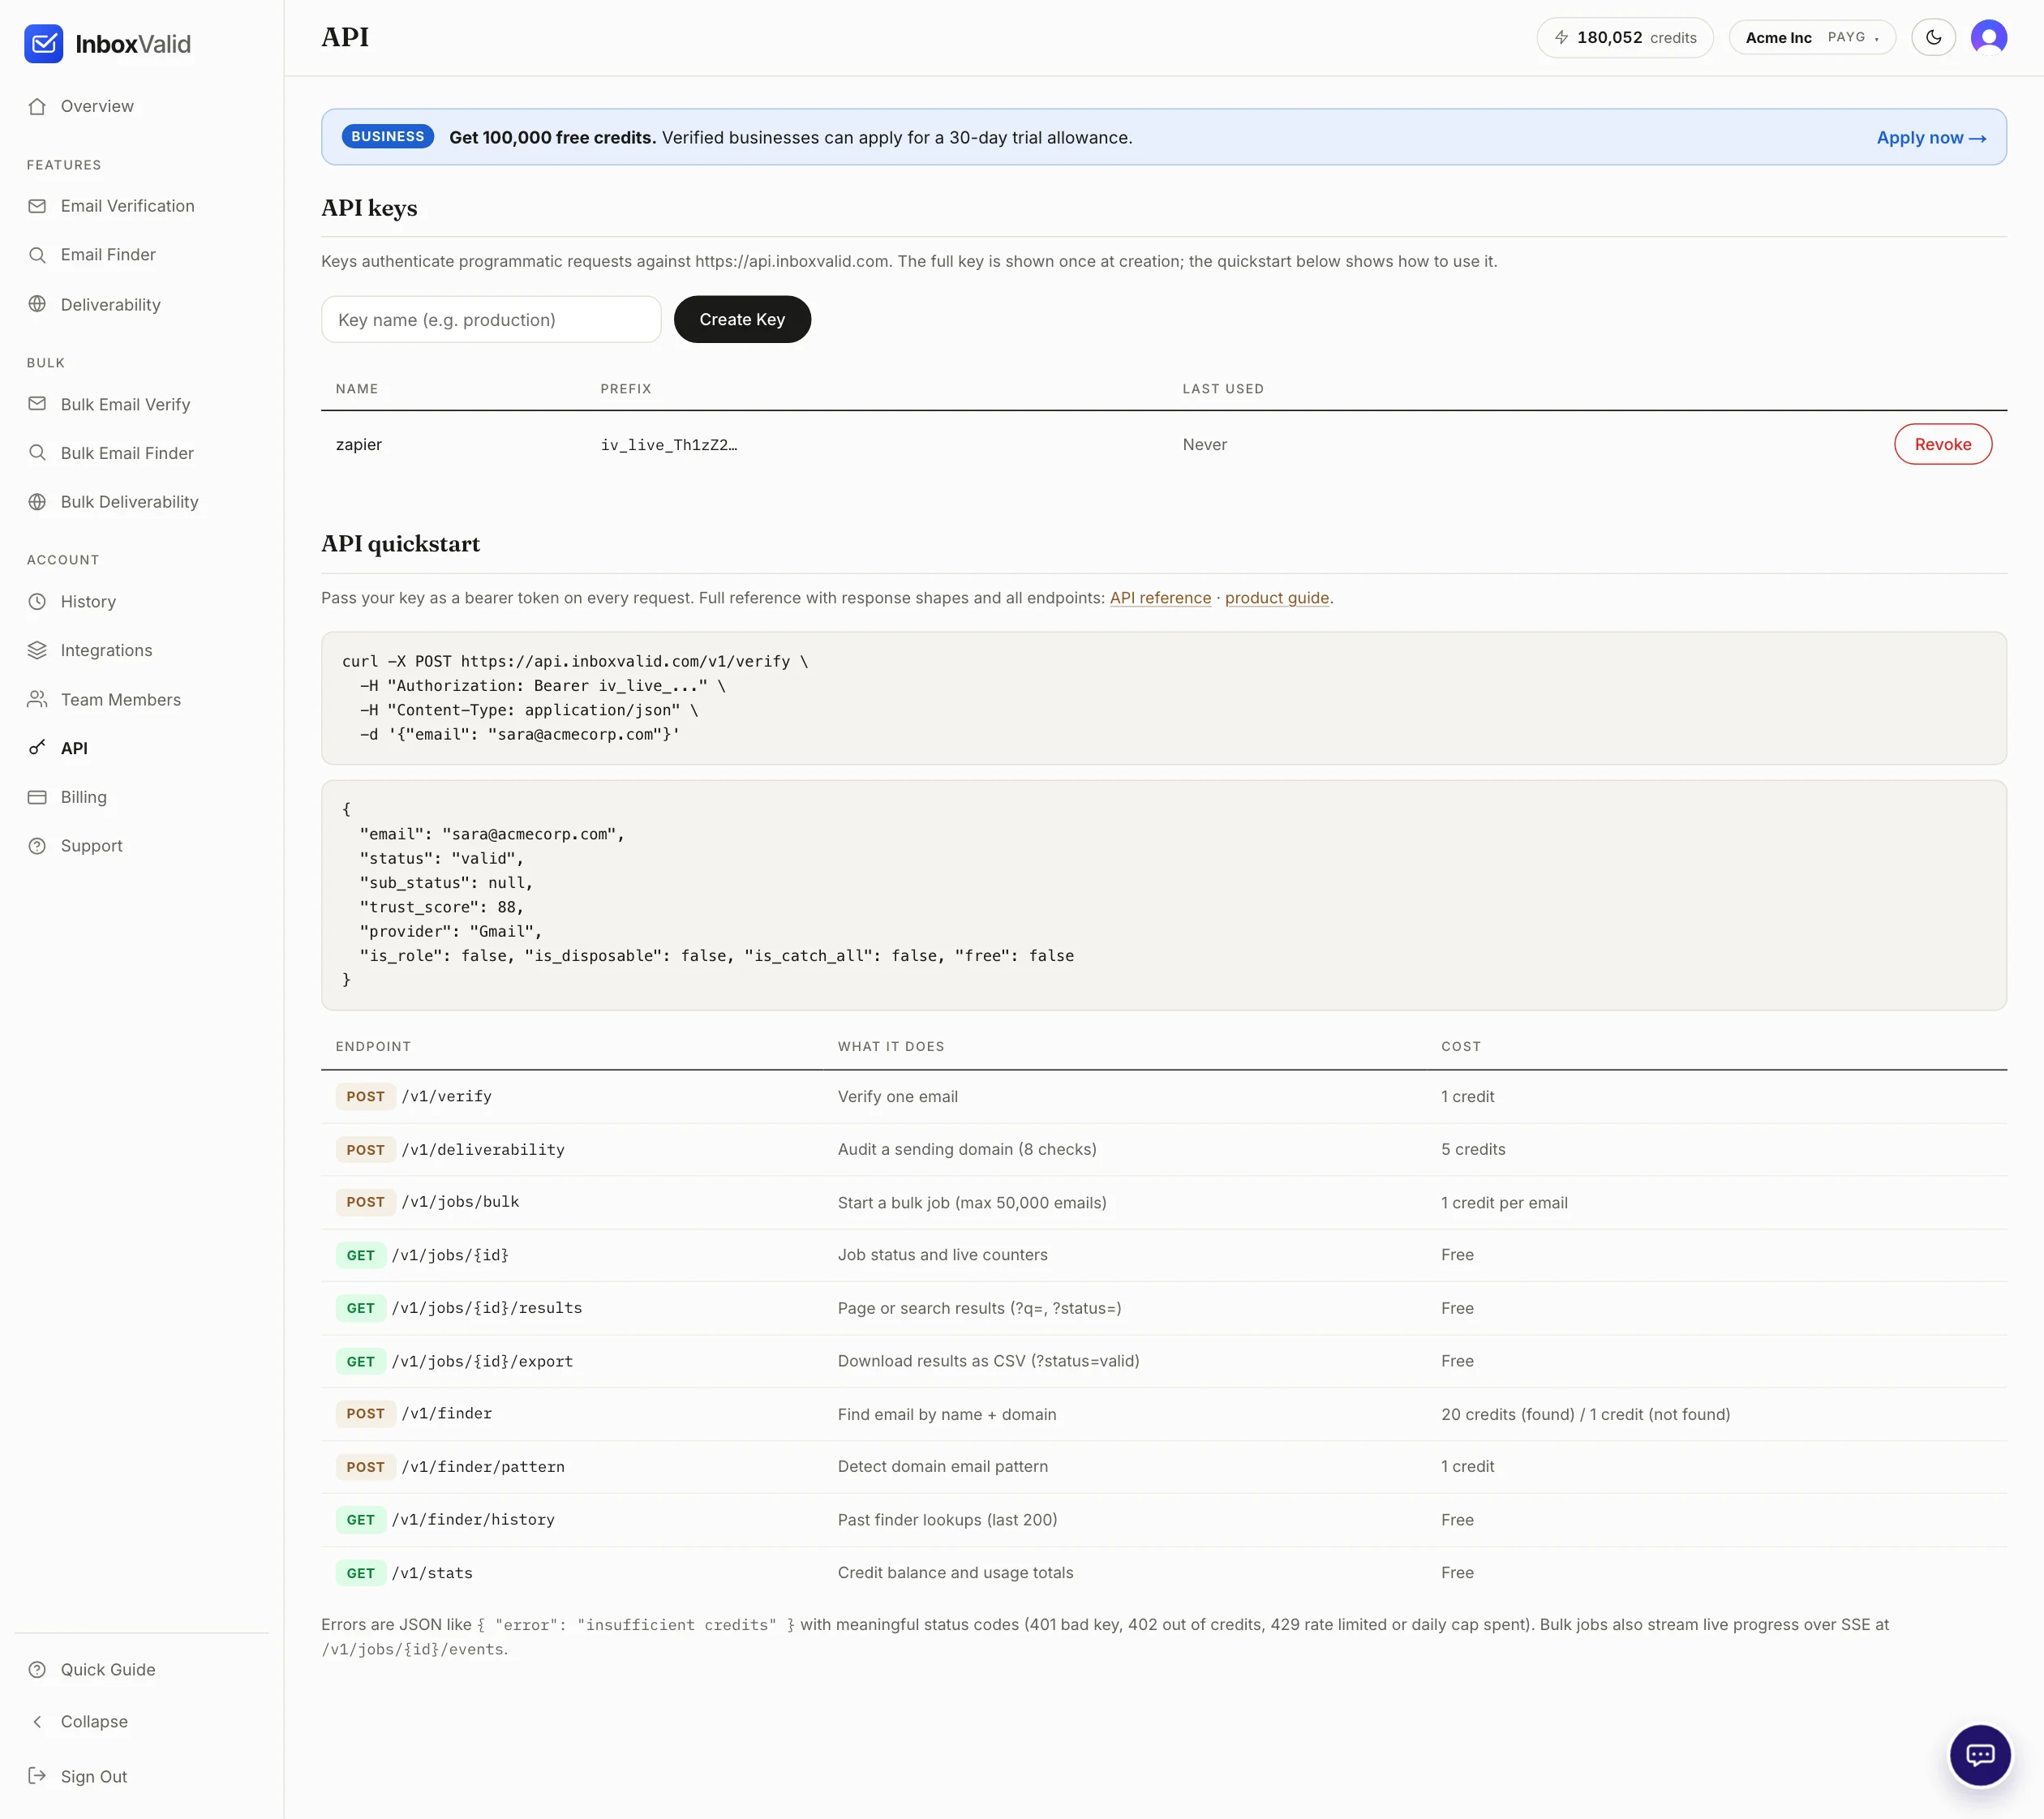
Step 2: add the webhook step
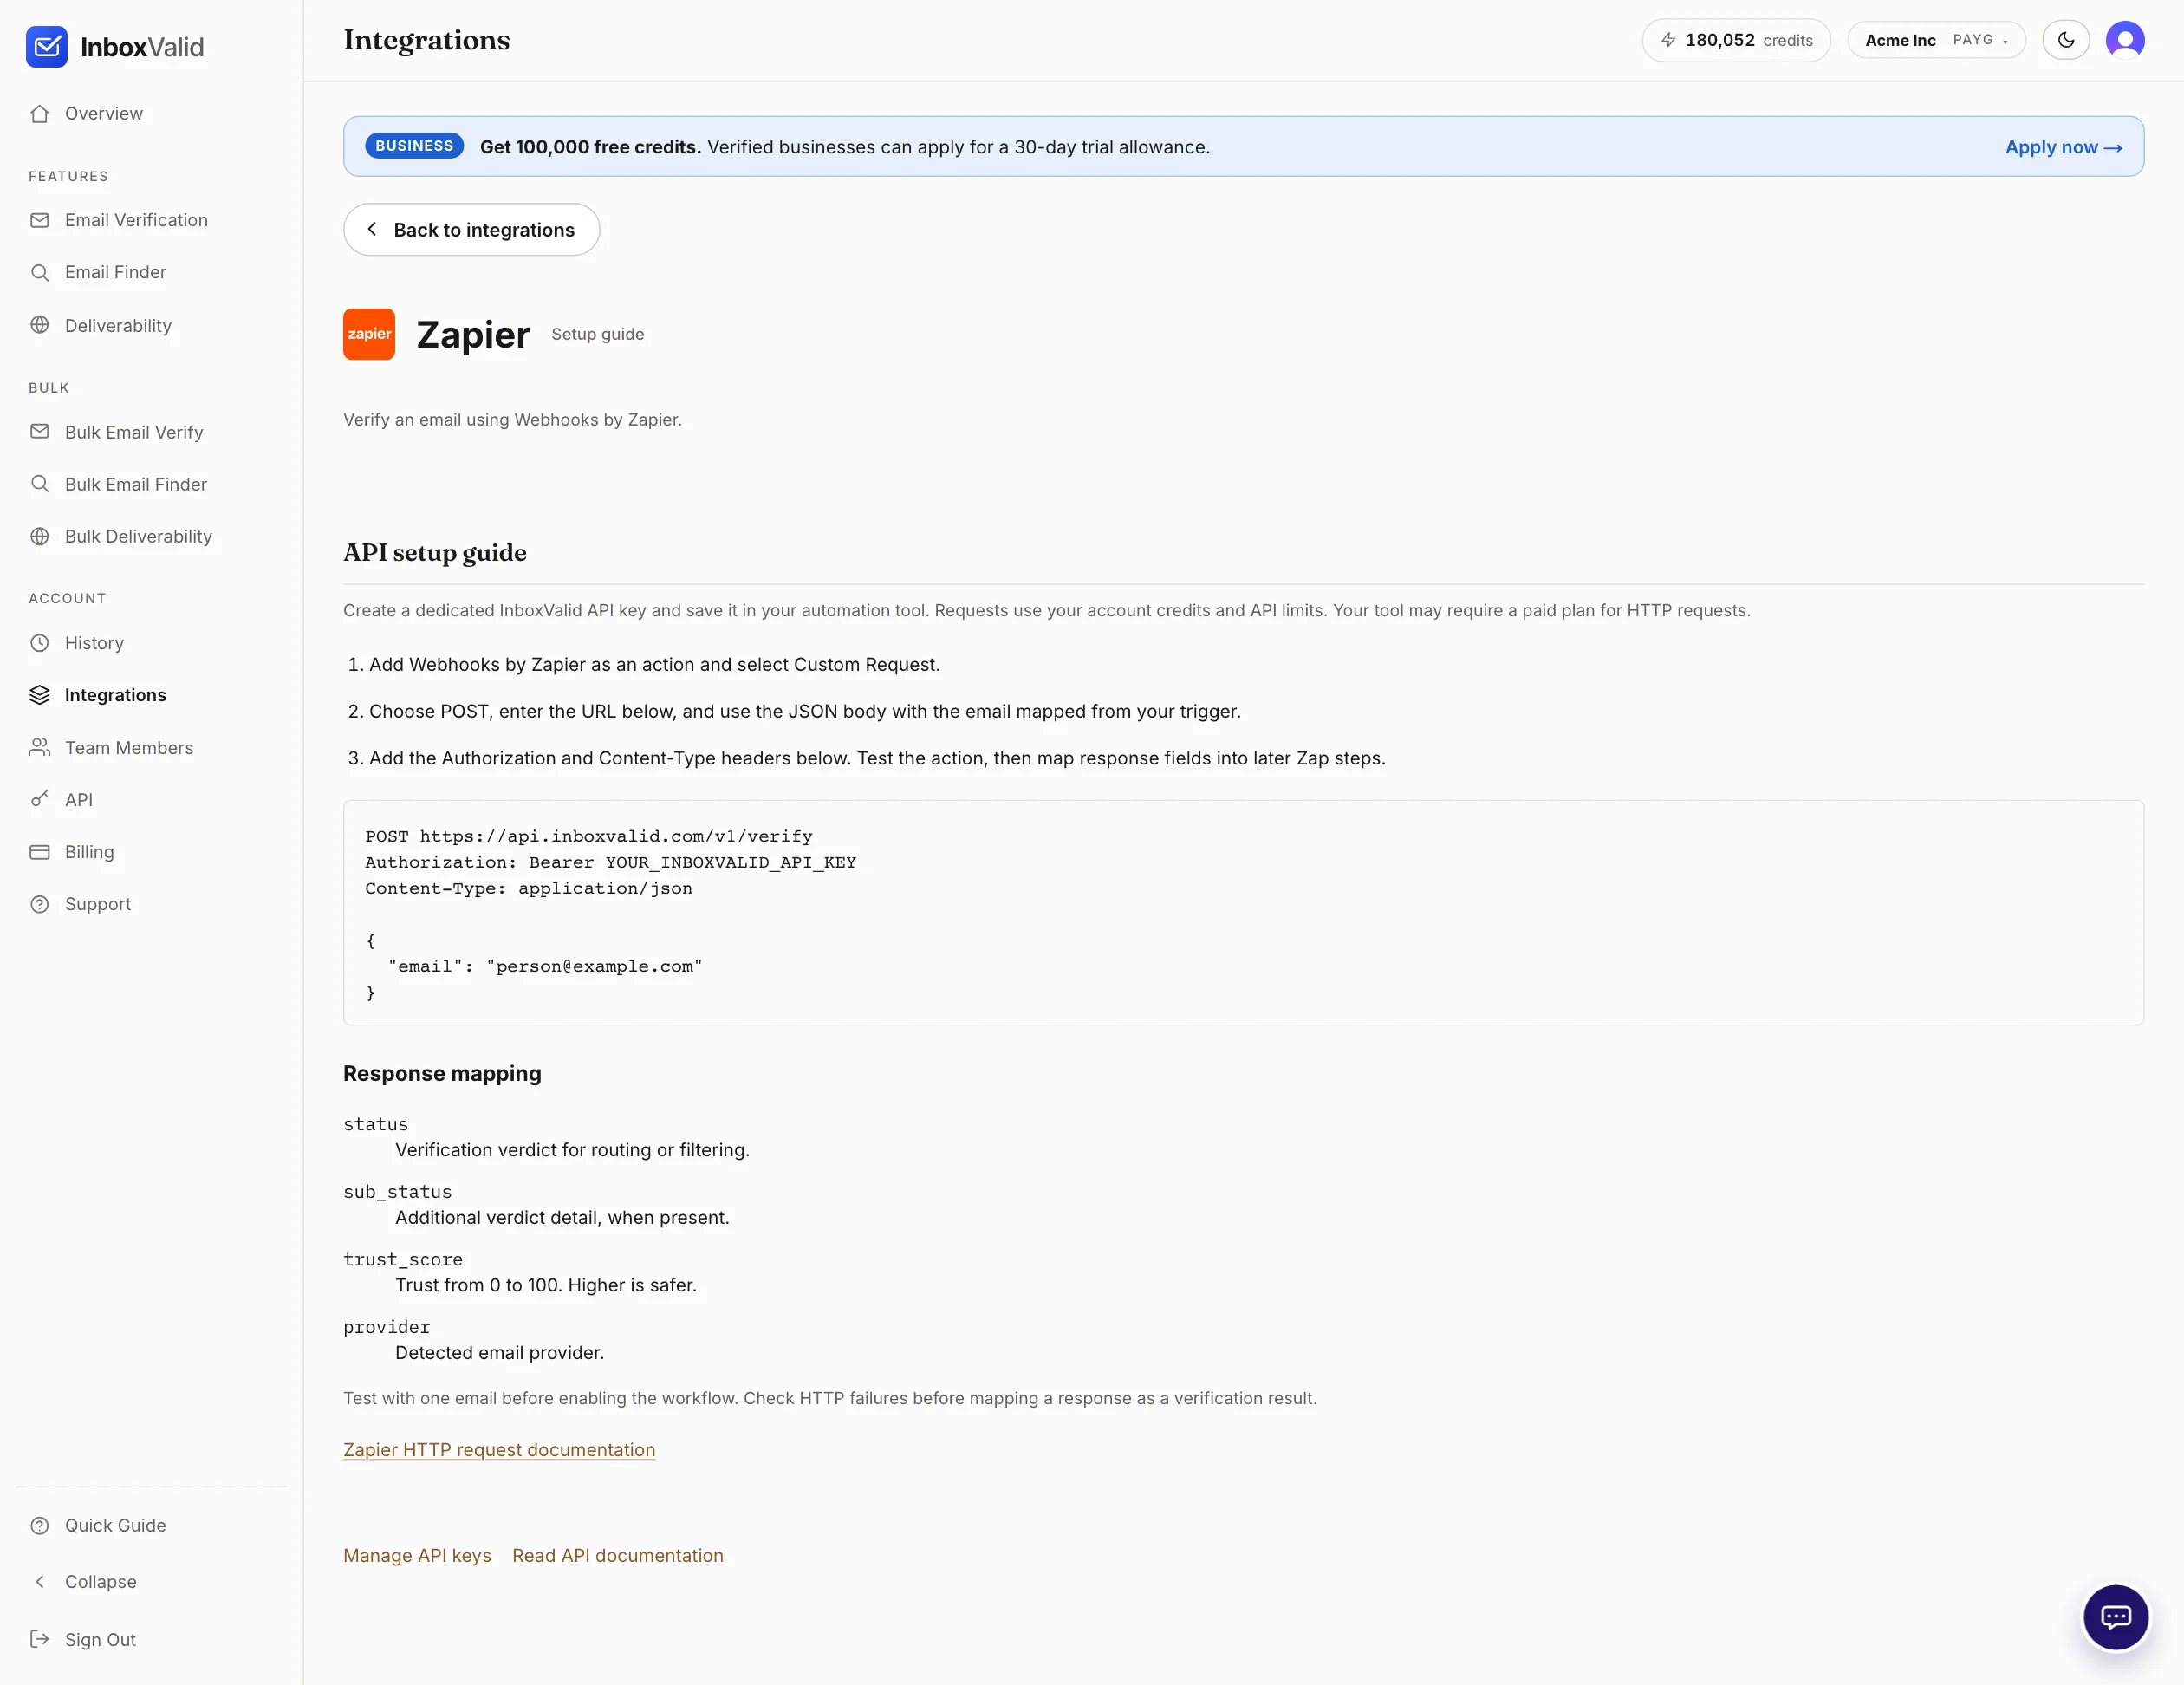
- In the Zap editor, after your trigger (a new form entry, a new CRM contact, a new row), add an action and choose Webhooks by Zapier.
- Pick the Custom Request event.
- Set Method to
POSTand URL tohttps://api.inboxvalid.com/v1/verify. - In Data, enter the JSON body below and replace the address with the email field mapped from your trigger.
- Under Headers, add
Authorizationwith the valueBearer, a space, then your key, andContent-Typewithapplication/json.
POST https://api.inboxvalid.com/v1/verify
Authorization: Bearer YOUR_INBOXVALID_API_KEY
Content-Type: application/json

{
  "email": "person@example.com"
}
Step 3: test, then map the response
Press Test action. Zapier sends one real request, which costs one credit, and shows the response. From here every field is available to later steps.
The response fields you will map:
- status:
valid,invalid,catch_all,risky,disposableorunknown. Route on this. What each status means. - sub_status: extra detail when there is any, such as
role_account. - trust_score: 0 to 100, higher is safer.
- provider: the detected mail provider.
{
  "email": "person@example.com",
  "status": "valid",
  "sub_status": null,
  "trust_score": 88,
  "provider": "Gmail",
  "is_role": false, "is_disposable": false, "is_catch_all": false, "free": false
}
A typical Zap adds a Filter or Paths step next: continue when status is valid, tag the record when it is catch_all or risky, and stop when it is invalid or disposable. Check the HTTP status too: a 402 means the account is out of credits and the body will not contain a verdict.
Zapier's own reference for the step is Send webhooks in Zap workflows.

Clay
Verify emails in a Clay table
Add an HTTP API enrichment that verifies each row and maps status, trust score and provider into columns.
Clay's HTTP API enrichment can call any endpoint per row. Point it at the verification API and each row gets a status, a trust score and a provider as columns you can filter and sort on. HTTP API enrichments need a Clay plan that includes them.
Step 1: create an API key
Open Dashboard → API, give the key a name that says where it lives (for example zapier) and press Create Key. The full key is shown once; copy it into your tool before closing the dialog. A key per tool means you can revoke one without breaking the others.
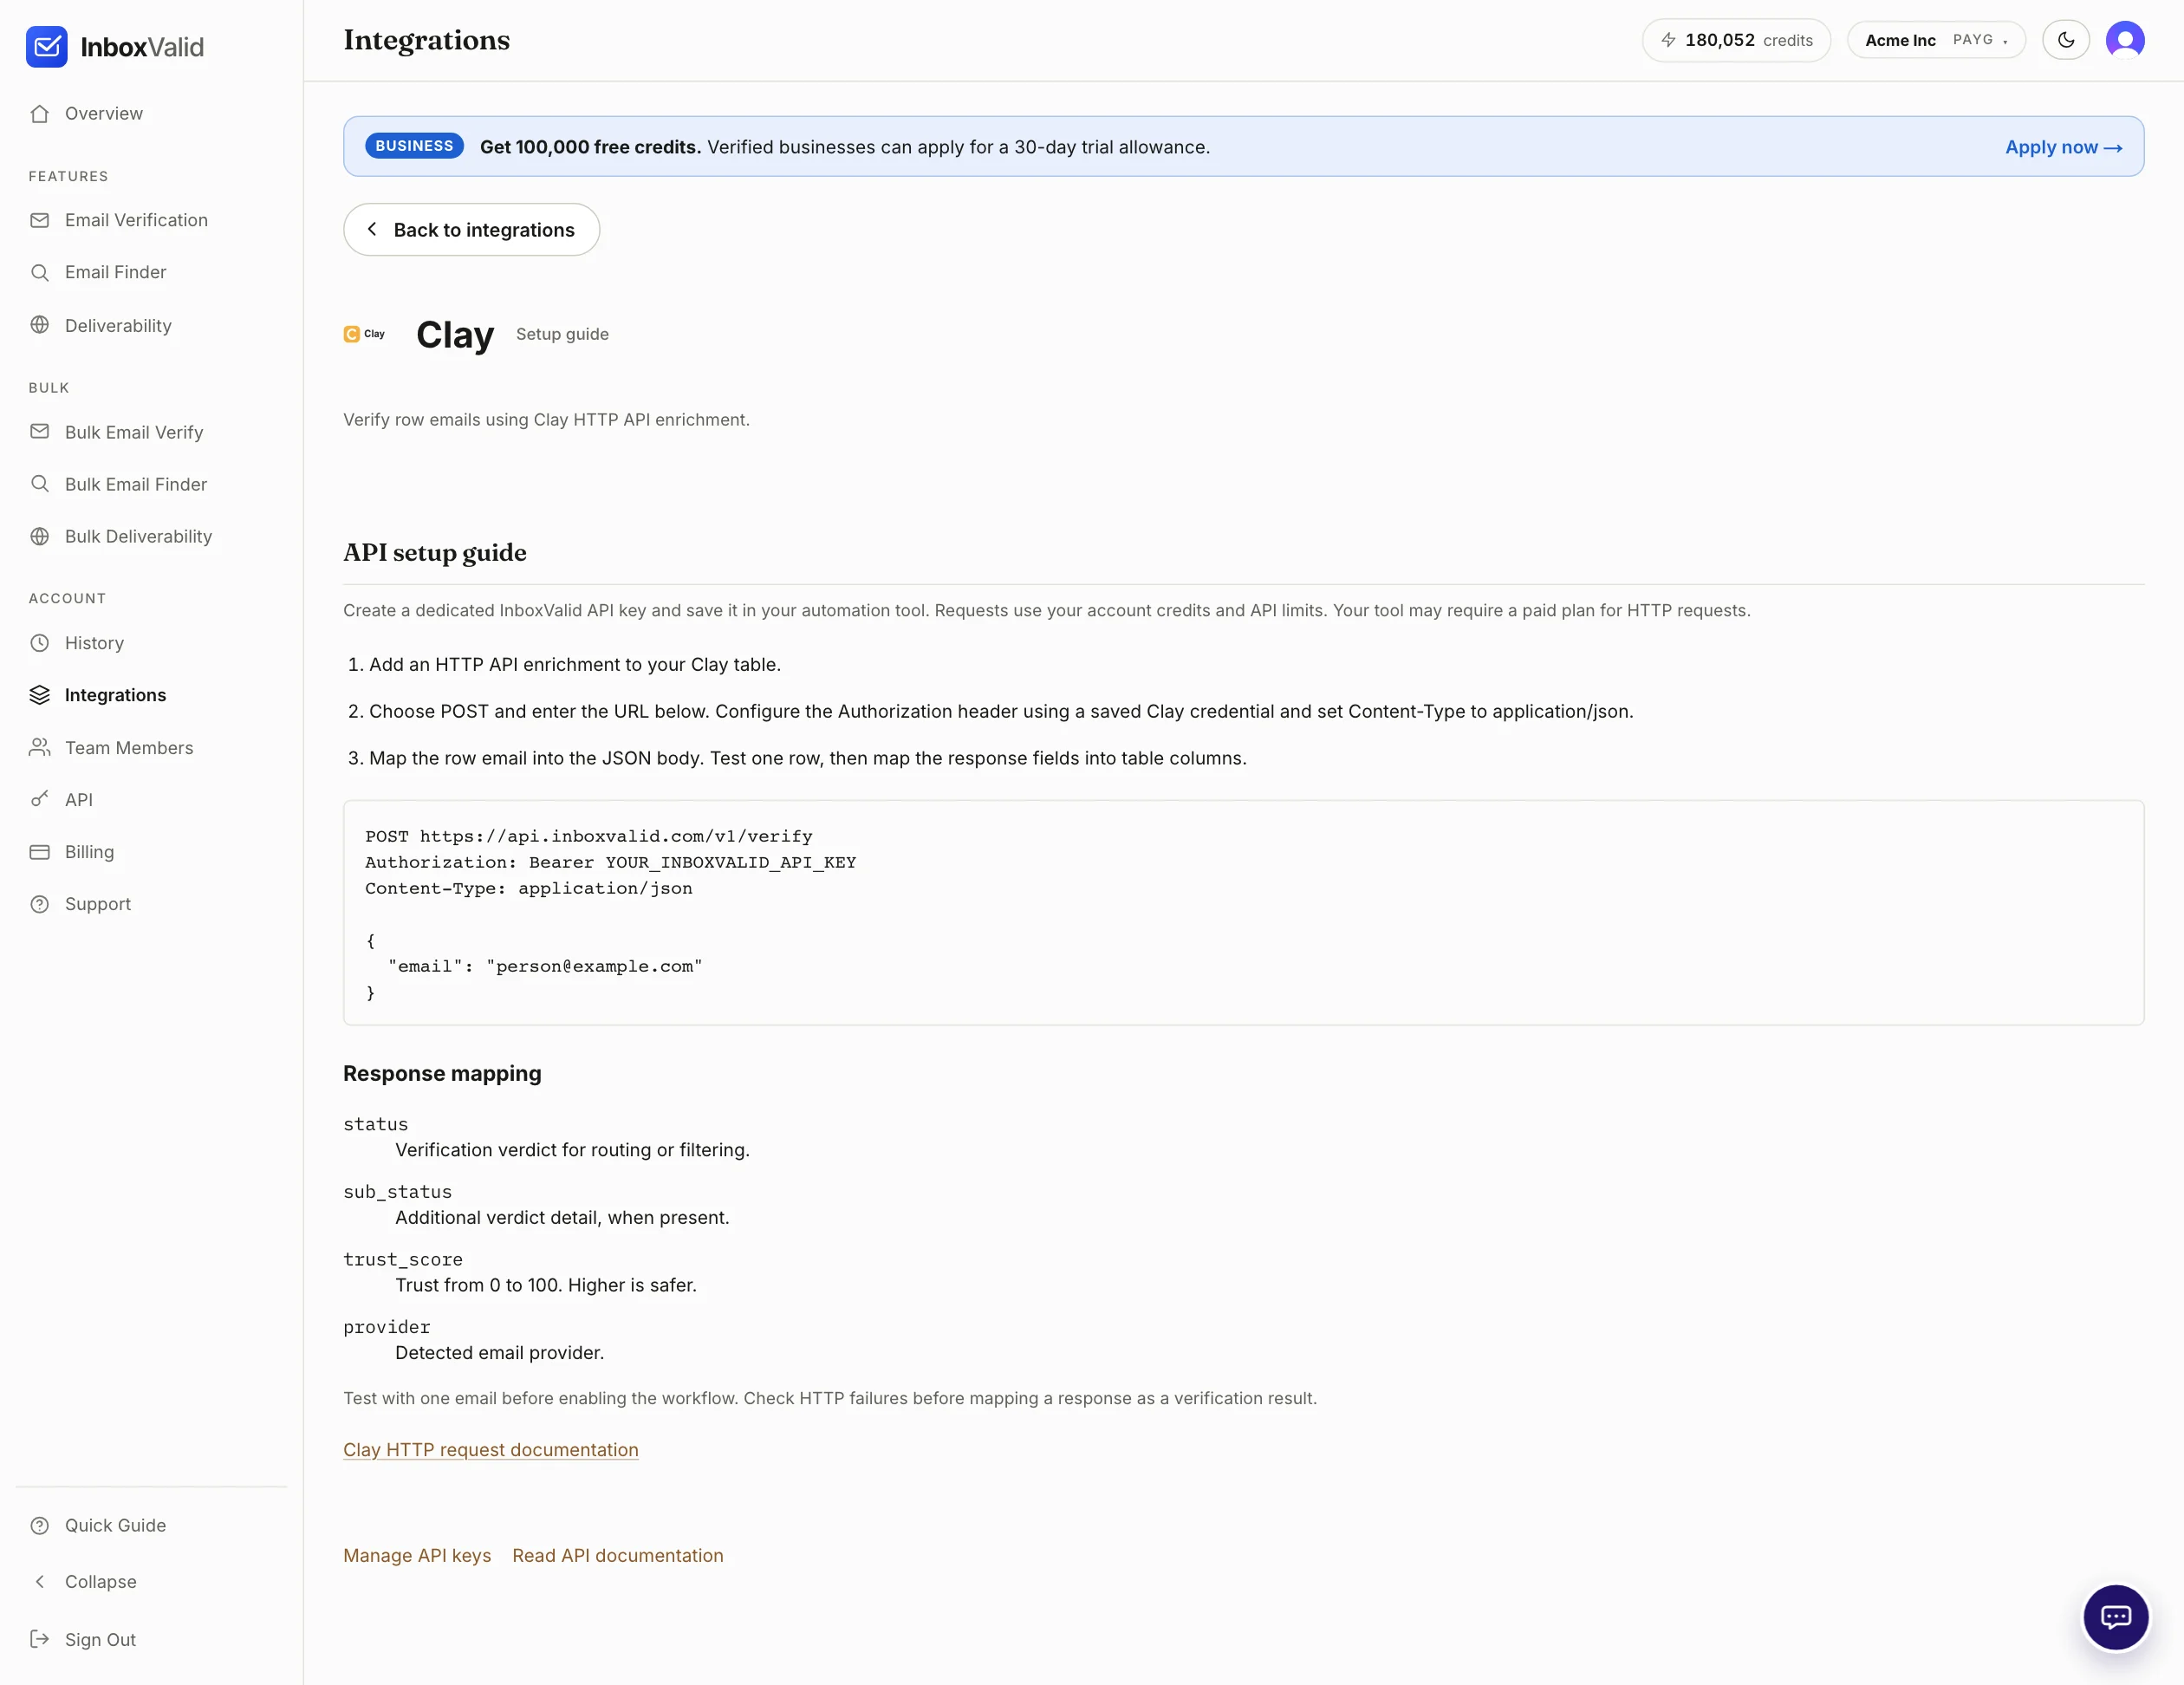
Step 2: add the HTTP API enrichment
- In your Clay table, choose Add enrichment and search for HTTP API.
- Set Method to
POSTand the Endpoint tohttps://api.inboxvalid.com/v1/verify. - Add a header
Content-Type=application/json. - Add a header
Authorization=Bearer, a space, then your key. Store the key as a Clay credential rather than pasting it into the column, so it is not visible to everyone with table access. - In Body, use the JSON below and drag the row's email column into the
emailvalue.
POST https://api.inboxvalid.com/v1/verify
Authorization: Bearer YOUR_INBOXVALID_API_KEY
Content-Type: application/json

{
  "email": "person@example.com"
}
Step 3: run one row, then map columns
Run the enrichment on a single row first; it costs one credit and shows you the response shape. Then use Add column from responseto pull out the fields you want.
The response fields you will map:
- status:
valid,invalid,catch_all,risky,disposableorunknown. Route on this. What each status means. - sub_status: extra detail when there is any, such as
role_account. - trust_score: 0 to 100, higher is safer.
- provider: the detected mail provider.
{
  "email": "person@example.com",
  "status": "valid",
  "sub_status": null,
  "trust_score": 88,
  "provider": "Gmail",
  "is_role": false, "is_disposable": false, "is_catch_all": false, "free": false
}
Once the columns exist, run the enrichment on the rest of the table. Each row is one credit; unknown verdicts are free and worth re-running later. Clay's reference is the HTTP API integration overview.

n8n
Verify emails in an n8n workflow
Configure an HTTP Request node with Header Auth and use the verdict in the nodes that follow.
n8n's HTTP Request node calls the verification API from any workflow, cloud or self-hosted. The verdict is then available to an IF or Switch node that decides what happens to the contact.
Step 1: create an API key
Open Dashboard → API, give the key a name that says where it lives (for example zapier) and press Create Key. The full key is shown once; copy it into your tool before closing the dialog. A key per tool means you can revoke one without breaking the others.
Step 2: store the key as a credential
- In n8n, open Credentials and create a Header Auth credential.
- Set Name to
Authorizationand Value toBearer, a space, then your key.
A credential keeps the key out of the workflow JSON, so exporting or sharing the workflow does not leak it.
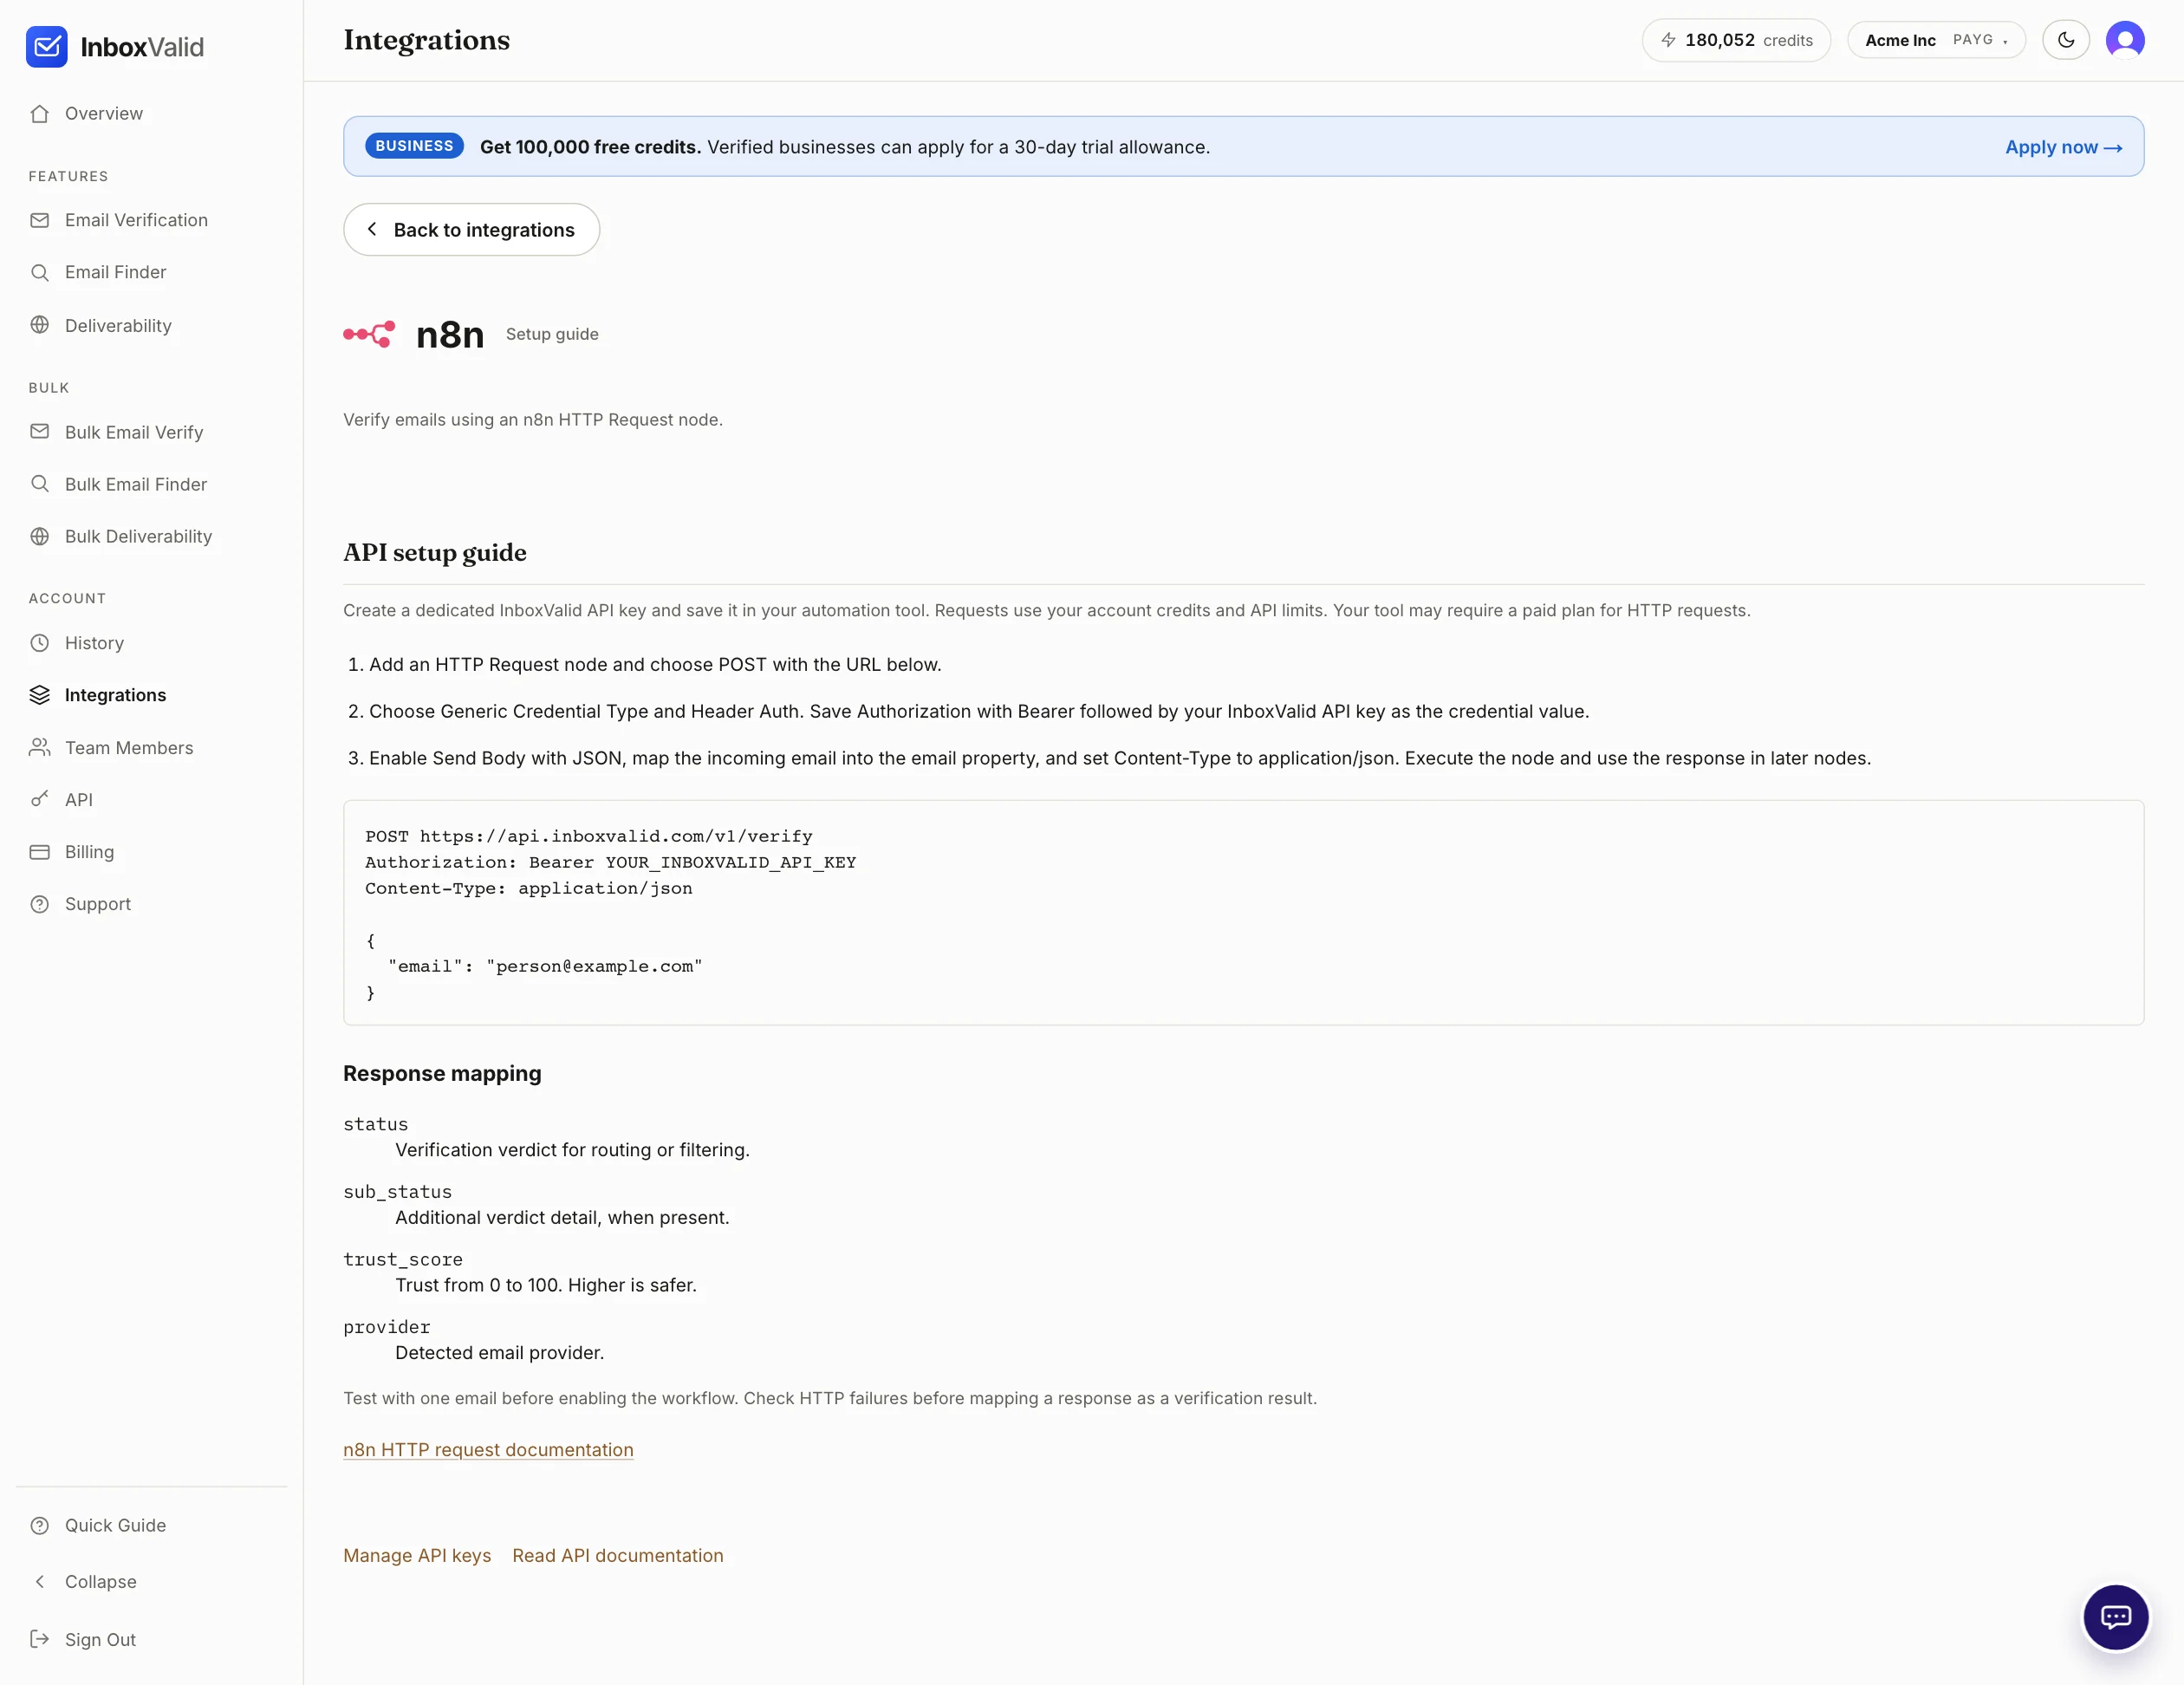
Step 3: add the HTTP Request node
- Add an HTTP Request node after the node that produces the email.
- Set Method to
POSTand URL tohttps://api.inboxvalid.com/v1/verify. - Set Authentication to Generic Credential Type, Header Auth, and pick the credential from step 2.
- Turn on Send Body, choose JSON, and add one property,
email, with an expression that reads the incoming address, for example{{ $json.email }}. - Turn on Send Headers and add
Content-Type=application/json.
POST https://api.inboxvalid.com/v1/verify
Authorization: Bearer YOUR_INBOXVALID_API_KEY
Content-Type: application/json

{
  "email": "person@example.com"
}
Step 4: execute, then branch on the verdict
Execute the node once with a real address; it costs one credit and fills the output panel with the response.
The response fields you will map:
- status:
valid,invalid,catch_all,risky,disposableorunknown. Route on this. What each status means. - sub_status: extra detail when there is any, such as
role_account. - trust_score: 0 to 100, higher is safer.
- provider: the detected mail provider.
{
  "email": "person@example.com",
  "status": "valid",
  "sub_status": null,
  "trust_score": 88,
  "provider": "Gmail",
  "is_role": false, "is_disposable": false, "is_catch_all": false, "free": false
}
Add an IF node on {{ $json.status }} equals valid, or a Switch node with one output per status. Handle a non-2xx response before reading the verdict: set the HTTP Request node to continue on error and check for the error field. n8n's reference is the HTTP Request node documentation.

Form Validation
Validate emails in your signup and lead forms
Call the API from your form handler, never the browser, and accept, warn or reject on the verdict.
Checking an address at the moment someone types it keeps typos, throwaway inboxes and bots out of your list before they cost a bounce. The check has to run from your server: an API key in browser code is an API key anyone can read and spend.
Step 1: create an API key
Open Dashboard → API, give the key a name that says where it lives (for example zapier) and press Create Key. The full key is shown once; copy it into your tool before closing the dialog. A key per tool means you can revoke one without breaking the others.
Step 2: call the API from the form handler
When the form is submitted, your backend receives the address, sends it to the verification endpoint and reads the verdict before deciding what to do with the submission. The request is:
POST https://api.inboxvalid.com/v1/verify
Authorization: Bearer YOUR_INBOXVALID_API_KEY
Content-Type: application/json

{
  "email": "person@example.com"
}
From a shell, the same call looks like this:
curl -X POST https://api.inboxvalid.com/v1/verify \
  -H "Authorization: Bearer YOUR_INBOXVALID_API_KEY" \
  -H "Content-Type: application/json" \
  -d '{"email": "person@example.com"}'
The response fields you will map:
- status:
valid,invalid,catch_all,risky,disposableorunknown. Route on this. What each status means. - sub_status: extra detail when there is any, such as
role_account. - trust_score: 0 to 100, higher is safer.
- provider: the detected mail provider.
{
  "email": "person@example.com",
  "status": "valid",
  "sub_status": null,
  "trust_score": 88,
  "provider": "Gmail",
  "is_role": false, "is_disposable": false, "is_catch_all": false, "free": false
}
Step 3: decide your form policy
The verdict is advice, and what you do with it is a product decision. A policy that works for most signup and lead forms:
- Accept on
valid. - Warn on
catch_all,riskyandunknown: show "please double-check your address" but let the person continue. A catch-all domain is often a real company, and an unknown is the server not answering in time, not a bad address. - Reject on
invalidanddisposable, with a message that asks for a different address. Consider suggesting the fix whensub_statushints at a typo.
Two things keep the form fast and safe. Set a short timeout on the call and accept the submission if the API does not answer, so a slow mail server never blocks a signup. And rate-limit the endpoint that triggers the check, because each call costs a credit and a bot can submit a form thousands of times. Errors come back as JSON with a meaningful status code; the API reference lists them.

WordPress
Validate WordPress form submissions
Where the WordPress plugin stands, and how to validate form submissions from your site in the meantime.
The WordPress plugin validates addresses submitted through native forms and the popular form plugins, with the API key entered once in the site's settings. It is listed on the integrations page but is not published yet; the card there points to contact so you can ask about it.
How the plugin will work
- Install and configure the plugin. Add it from the WordPress admin, then paste an API key from Dashboard → API into its settings page. The key stays on your server.
- Choose the forms that should be checked. Tick the forms (contact, signup, checkout) that should verify the email field on submit.
- Test the connection before enabling validation. The settings page runs one check against your key and shows the verdict, so you know the site can reach the API before real visitors hit it.
What works today
Every popular WordPress form plugin exposes a hook that runs on the server before a submission is saved. A short snippet in that hook can call the verification API and reject or flag the entry; the request, the response fields and a sensible accept/warn/reject policy are in the form validation guide. Keep the key in wp-config.php rather than in a theme file, and do not call the API from the front end.
If your site sends marketing mail from a list that has grown over time, the fastest cleanup is not a plugin at all: export the subscribers and run them through Bulk Email Verify.
Still stuck? Open a support ticket and we'll reply in your dashboard.